Custom Animatronic AI Controller
An animatronic figure that can answer questions about itself and its mechanics.
Project Summary
The user speaks into the microphone and the program on the computer streams the audio to IBM’s speech-to-text for processing. Once silence is detected, the cloud returns the user’s speech as a string of text and displays it on-screen. This string is then sent to IBM’s Watson Assistant to be processed against an array of intents and dialog nodes. The assistant generates a response and sends back its response as a response string. This response string is forwarded to IBM’s text-to-speech engine and returns a .WAV audio file.
Project Overview #2
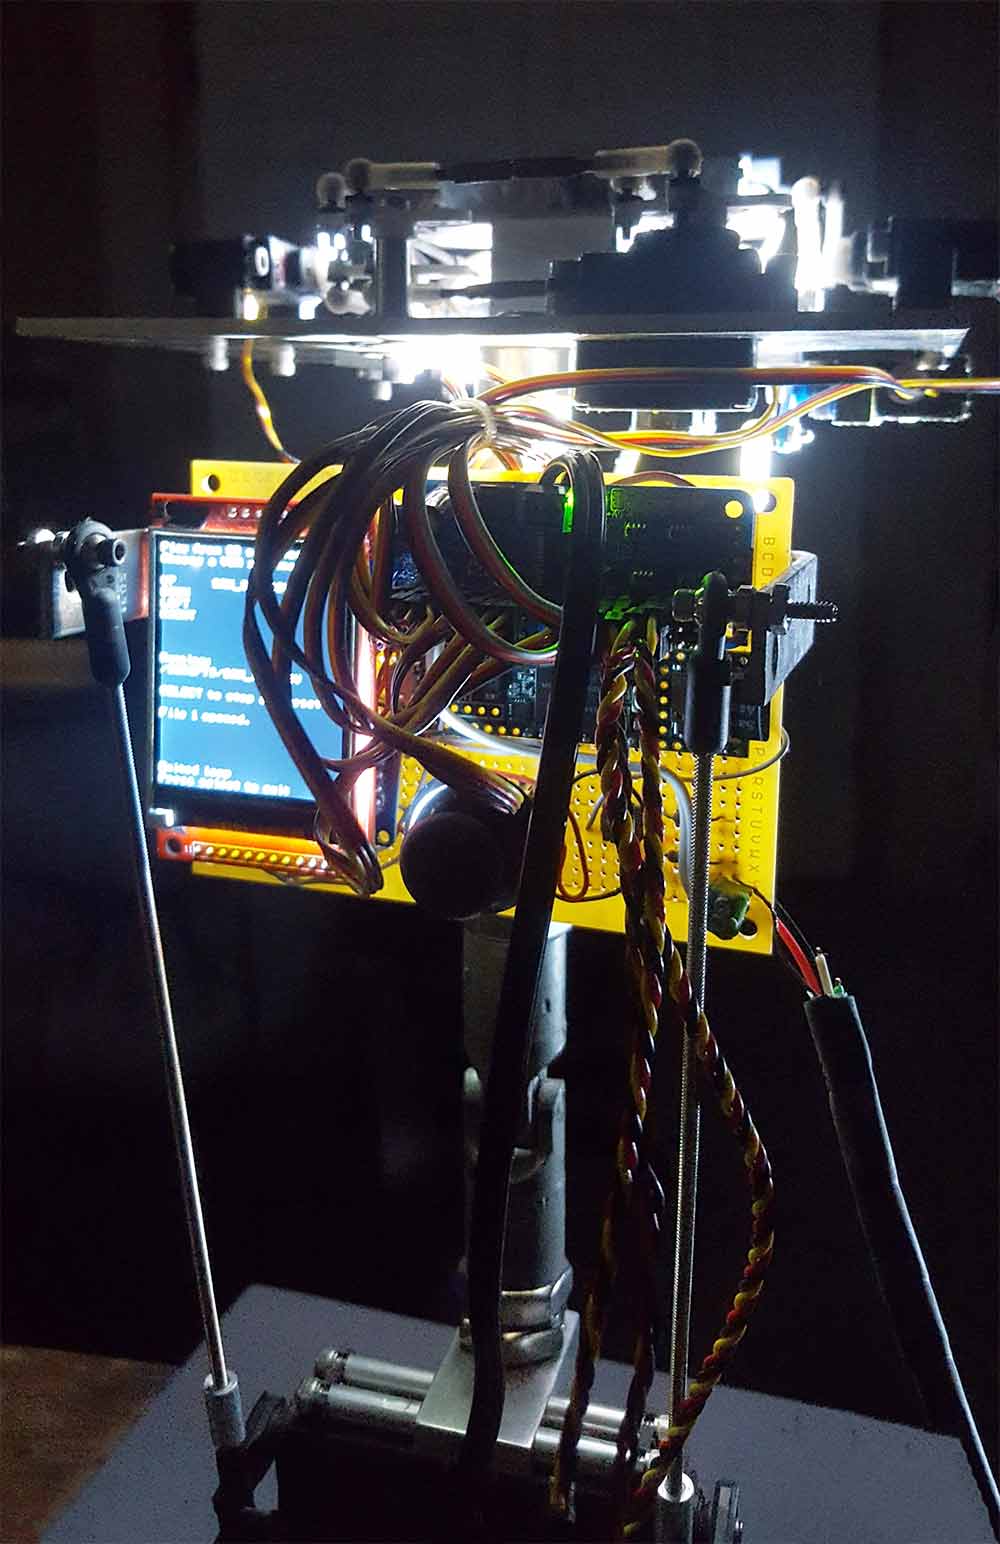
The audio response is then streamed through the offline acoustic model before it is played through the computer’s speakers. The model listens to the audio and generates a mouth shape based on what it hears. It then sends that mouth shape data over USB/serial to the micro-controller on the back of the animatronics’ head. The micro-controller maps this value to the following servos: jaw, upper right lip, upper left lip, lower right lip, and the lower left lip. This mapping is done using the servos’ endpoints and a three-point mapping function (minimum, maximum, and default positions). The jaw and lip values are shown on-screen as sliders. Although the micro-controller is a single-core processor, all the functions/systems including playback from a motion data file, to the automated blinking, to the mouth shapes, were written as asynchronous functions to maintain the serial connection with the computer. There are no delays in any of the looping processes, all code checks against the system clock: millis() until their “delay” time is up. All the dialog and questions were created using the Watson Assistant tool.
Background
Sam was modeled after Kismet, a socially aware animatronic project built at MIT by Dr. Cynthia Breazeal. We designed Sam with similar facial attributes and expression range, albeit in a more human-like form. We were experimenting with an animatronic that could not only communicate verbally but also visually for maximum emotional conveyance. She can smile and laugh, roll her eyes, frown, and get mad—all by her facial expressions. This opened up possibilities to explore such as helping children with social awareness issues: i.e. individuals on the autism spectrum.
Project Systems
- IBM Speech to Text with microphone (C#)
- IBM Assistant dialog setup and integration (C#)
- IBM Text to Speech and streaming audio (C#)
- Acoustic modelling and mouth data streaming using “SALSA” and “Uduino” (C++/C#)
- Program interface using Unity3D (C#)
- Asynchronous servo motion data playback system (C++)
- Potentiometer noise reduction using arrays and sorting (C++)
- Servo motion data recording system (C++)
- Servo ramping system (C++)
- Three-point servo endpoint mapping (C++)
- Serial connection auto-reconnect using “Uduino” (C++/C#)
- State/intent management on the microcontroller (C++)
- Asynchronous auto-blinking every 2-6 seconds (C++)
- SD card playback/streaming asynchronously (C++)
Three-Axis Neck
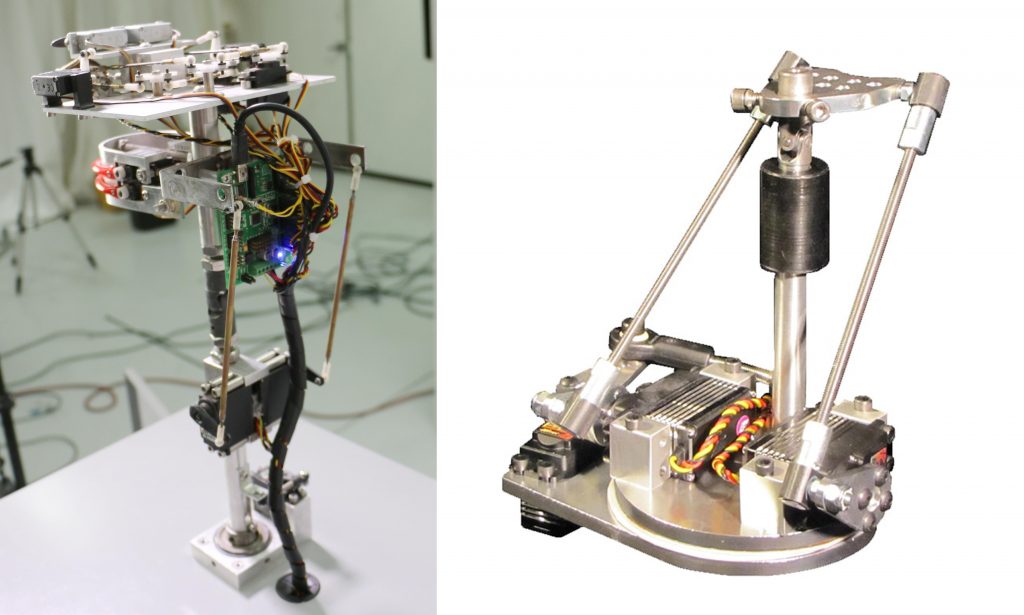
The neck mechanism is based on a neck design by Custom Entertainment Solutions. This mechanism allows the head to have pitch and yaw movements and, most importantly, in its default resting position uses almost no power. The bottom servo allows the whole figure to spin with its bearing.
Lips, Mouth, and Jaw
The jaw pivots in the back and the servo mounted on the underside of the top faceplate controls the mechanism with a connecting rod. The servos on the ends of the lips move and down to create different mouth shapes also known as visemes. For example, the “AY” and “EE” sounds are created by moving the lips away from each other and the “OH” sound is created by moving them closer.
Eyes
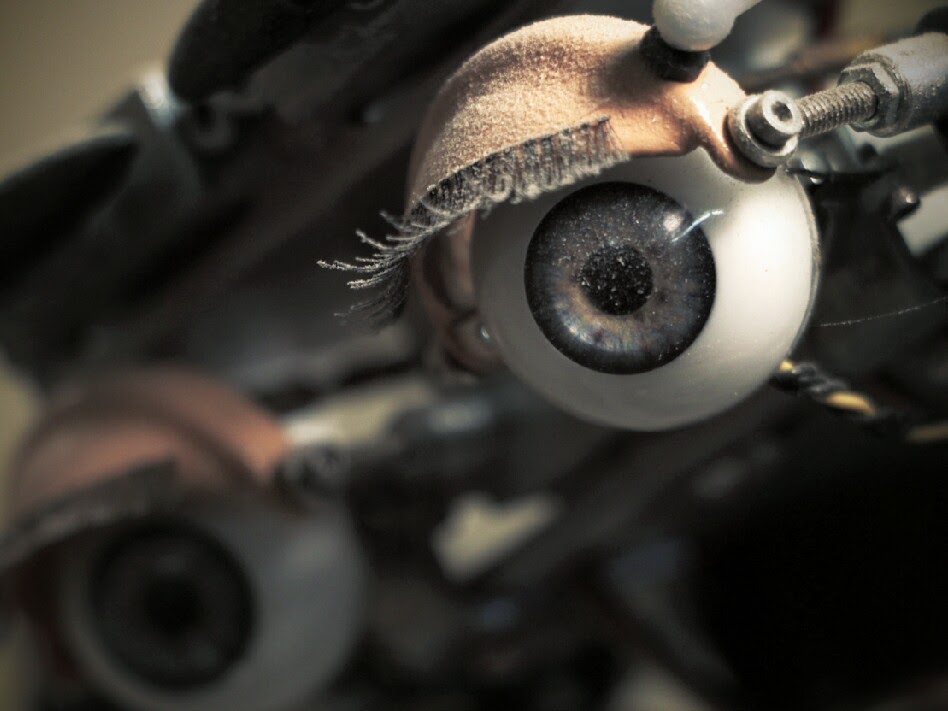
The plastic eyes were purchased from eBay by searching for “doll eyes.”
Both eyes are mounted and held in place with a u-joint with fish swivels that hook onto the eyeballs’ edges to control them. One servo pitches the eyes up and down and a second servo pivots the eyes left and right. To control both eyes simultaneously, a free-spinning servo horn is embedded in the face plate with a bearing to freely spin.
For the eyelids, we 3D printed out a design from Thingiverse and added a ball connector to the side. Each eyelid has one servo with a connecting rod that closes and opens the eyelid. The eyelids were important because it adds realism with blinking, squinting, giving Sam a tired look, or conversely, a surprised look.
The eyebrows are simply servos with 3D printed brows that spin. Those are the simplest parts of the entire figure yet require the most maintenance in terms of redefining limits due to loosening.
Servos
- 1x HS625MG @ $30 ea. — Neck spin (lowest servo on figure)
- 2x HS645MG @ $30 ea. — Neck pitch and yaw (the two that control the neck rods)
- 1x HS65MG @ $30 ea. — Jaw servo (can easily overheat if not careful)
- 10x HS65HB @ $22 ea. — Lips, eyebrows, eyelids, eye pitch, and eye spin
Servo Controller / Playback Unit
To control all fourteen of these servos at the same time, we’ve used several different controller boards. One of the first boards we used was the Lynxmotion SSC-32U ($45), a 32-channel servo controller that requires a USB connection to a PC. We’ve also used a ProCommander by Weigl ($945) coupled with a 16-channel DMX servo controller (SRV16) by Northlight Systems ($98), and a custom-made servo controller based on the PCA9685 LED driver, a Teensy 3.5 microcontroller ($27).
Software
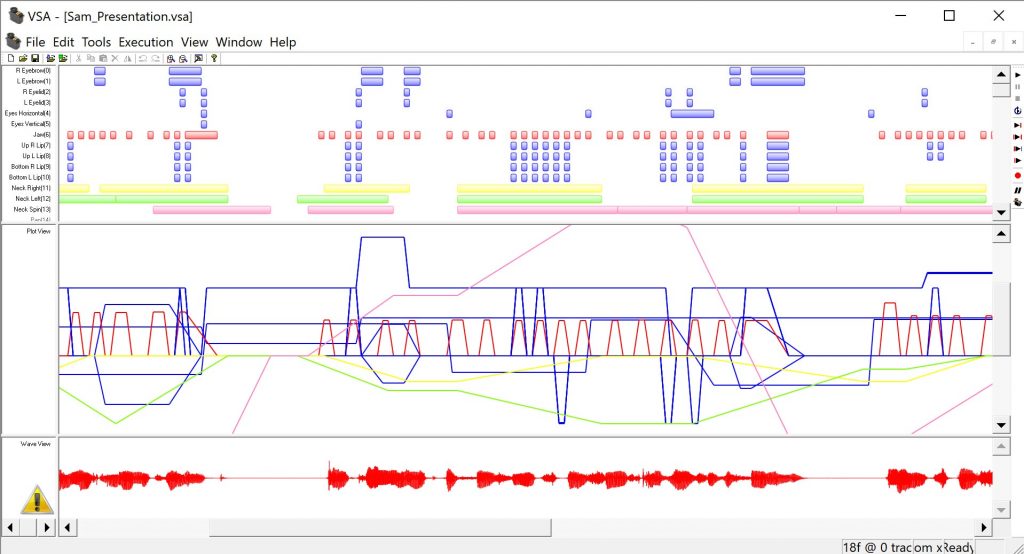
All of our current and future animatronics use Weigl products with Conductor Pro. That being said, VSA is the best for beginners. Not only because of it’s price tag, but also due to the simplicity of its interface.
$70 Brookshire Software’s Visual Show Automation – for any servo controller
- Plug in your servo controller. (i.e. SSC-32U, Maestro, etc…) with a servo plugged in
- In VSA settings, choose the correct COM port, baud rate, and servo channel.
- In the track settings, choose the same COM port in the drop down, and set the limits (servo max, min, default positions).
- Close, save, and draw a rectangle on the track in the main window to create a choreographed movement.
- Double-click, change the position with your mouse or a joystick, and save the position.
- Click play on the right to playback.
- Click the pause button to reset positions.
$1,200 Brainsalt’s Conductor Pro – for Weigl ProCommander devices
- Plug in your ProCommander device with a DMX board with a servo plugged in
- Add it in the devices window
- Right click and add a servo channel
- Open the servo channel and set your max and min positions
- Draw in the timeline to creation choreographed movements
- Playback on your device


