

SimmiMega: Embedded Game Engine/Editor (Dev Log #1)
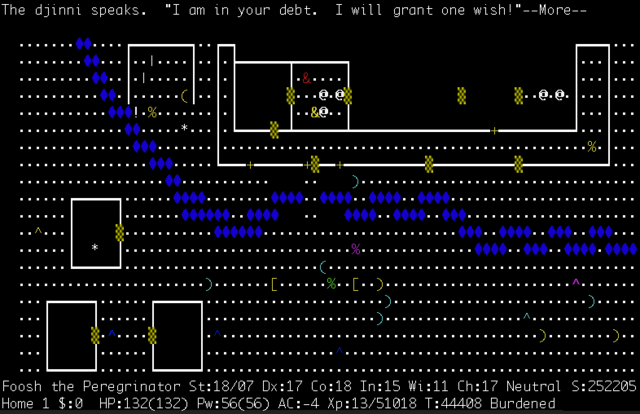
When I was first learning C and 2D arrays, my mind immediately went to old-school dungeon crawling games like NetHack. I made a simple game for an embedded system where you walked around using a 2D array as the world and characters as the objects. After finishing that project for the final in my C class, I wanted to make some sort of embedded game editor/engine with dynamic rules rather than what I hardcoded.
Read Next: SimmiMega: Micro-Game Making Machine (Dev Log #2)
Project Goal:
Make a simple handheld game editor/engine using a microcontroller. In this project I’m going to create the following things:
- play mode
- sprite editor
- room/tilemap editor
- dialog editor
- palette creator/color chooser
- rule-based logic controls per object
- settings menu to name your game
- should play music in-game using an SD card
- games should be exportable once you’ make once you’re done
- the whole console/project should cost under $20 to build it yourself
Engine/Style Inspiration: Bitsy
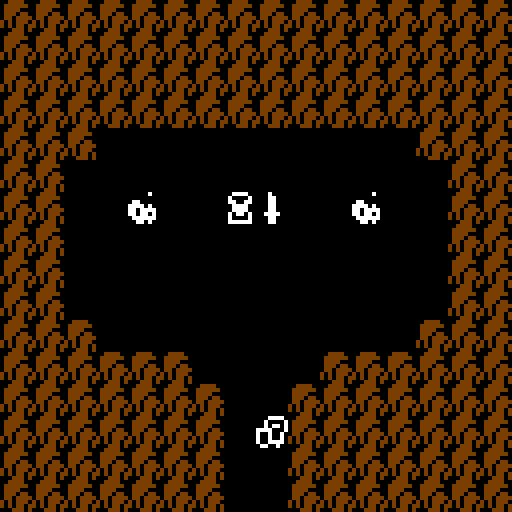
The Bitsy game engine has some surprisingly interesting and fun short games made by people who most of the time have never used a game engine before. The diversity of the types of games made with Bitsy is vast including a de-make of Zelda, short personal stories of trauma, exploration/philosophical games, political statements, etc.
The Bitsy engine, like other “fantasy consoles“, is limited in scope purposefully. Each sprite is only two frames and 8×8 pixels. The room uses only three colors (originally, not talking about user-modifications or later updates). The games that come from Bitsy remind me of old-school RPG maker games where you learn more about the world by walking into things the things having some witty dialog like “This is a window. You can see out of it.” Or old Pokémon games, where you bump into people to talk to them. The low-complexity of the engine really allows for people to focus on their message.
I’ve seen a few people port Bitsy or the PICO-8 engine to handheld devices like the Raspberry Pi, but I really want to port it to a fully embedded platform so the build is cheaper and easier to manage.
Hardware Choices
I originally wanted to build at least the playable part of the embedded game engine for an ATMega328P or ATMega2560, but it makes absolutely no sense since these slower microcontrollers cost several times more than a faster microcontroller platform such as a Pi Pico or an ESP-32 variant. An ATMega2560 breakout board costs $15, while an ESP-32 dev kit is only like $5.25 on Amazon.
I tried using a Pi Pico, but a lot of the public support was mainly for circuitpython/micropython or the raspberry pi C++ build process. I was using a picoprobe to program/debug, but after spending a few weeks with SPI conflicts/issues between the screen and SD card, reading through forum posts, Github issues, and finding no luck, I decided not to use it.
So for this project, I’m using an ESP-32.
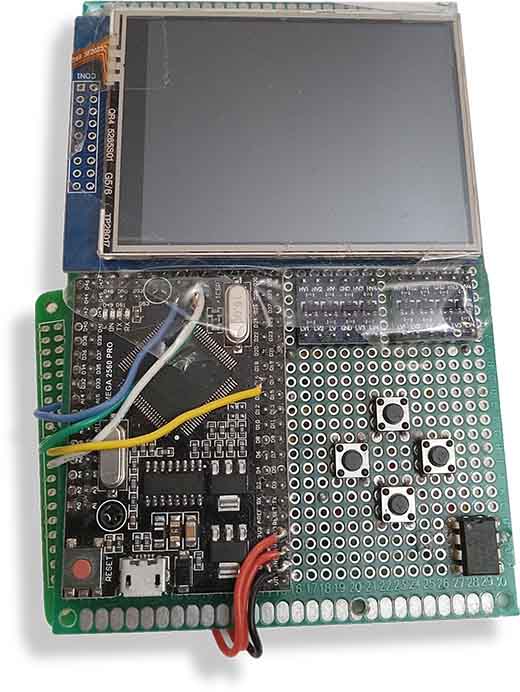
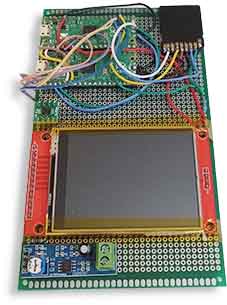
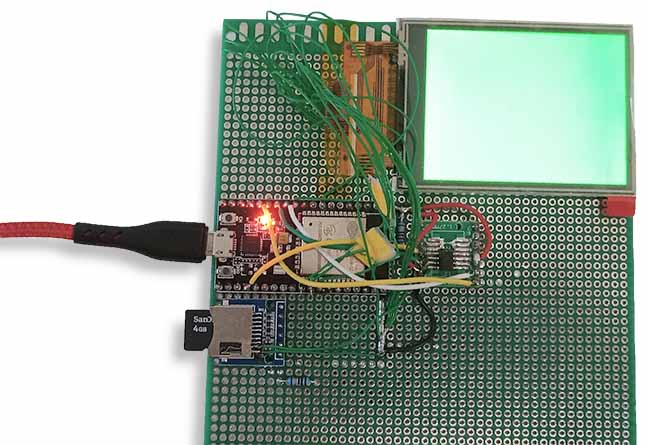
Hardware Setup
- ESP-32 WROOM 32D for the microcontroller
- 2.8″ ILI9341 LCD with a resistive digitizer for the screen
- 25LC256 SPI EEPROM for storing the game-being-edited so we don’t lose data on power loss and don’t have to write to SD for every change.
- MicroSD reader for reading/writing whole game files later and streaming game audio
- TODO: Use a 4-wire resistive touch screen SPI chip for the touchscreen
Software Update:
This dev log is regarding commit #773d05f “Screen, EEPROM, and SD Working Together” and #b138a83 “Create Display, ExtEeprom, and MicroSD Classes”.
Changelog:
- Getting the screen, the eeprom, and the SD card all working together nicely. (Wiring pinout is in the README in the repo)
- Separating out the various working examples into their own classes.
Challenges:
- When I wired the screen up with everything else, for some reason the refresh rate/SPI speed decreased by 10-fold. Turns out I was using the wrong library, so I found a better one (https://github.com/moononournation/Arduino_GFX) and it fixed the issue.
- I wired the 25LC256 chip up using the i2c wiring diagram of the 24LC256 instead of the SPI wiring of the 25LC256 and melted a chip. Wired it up correctly and no more issues!
- I didn’t have any breakout boards for the flex ribbon part of the screen so I just wired to each pad. Don’t do that, definitely use a zif connector breakout or something similar.
Related posts
![Limbo Featured Image]()
Visual Effects in “Limbo” by Playdead
Limbo uses Box2D and OpenGL for the in-game effects. This system works in real time, but I’ve replicated it in Photoshop and uploaded the PSD for free.
![ESP32 Chip without dev board]()
ESP32 Quirks (Latching Pins, Auto-Programming Mode, USB-C, etc.)
Sometimes there’s just some weird bit of knowledge you need to know before working with a specific chip/microcontroller that you wouldn’t have guessed. Here’s my list from working with the ESP32 on my latest handheld game engine project. Summary: For GPIO, start by only using pins: GPIO 4, 13, 16 – 33. If you need…

